Episode II
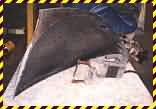 Enforcing fenders
All fenders are enforced on stressed / weak areas by welding metal with this special "point welding" tool.
Primer coat.
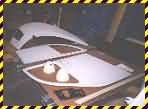
All body parts, including the main body, are painted with a special primer coat. This coat is sanded prior to the final repaint. This is this coat which will give the shining AND the lasting to the paint.
All body parts, including the main body, are painted with a special primer coat. This coat is sanded prior to the final repaint. This is this coat which will give the shining AND the lasting to the paint.
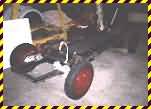 Wheels back to chassis.
The wheels have been painted and are refitted to the chassis. Now, it starts to look like a 2CV.
Rear brakes.
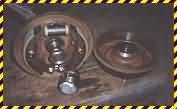
The rear brakes are renewed. Notice the special heavy tool needed to unscrew the center nut : size 44 ! So special that too many lazy mechanics never change 2CV rear brakes thinking that... front brakes are enough !
The rear brakes are renewed. Notice the special heavy tool needed to unscrew the center nut : size 44 ! So special that too many lazy mechanics never change 2CV rear brakes thinking that... front brakes are enough !
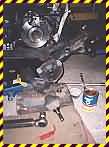 Engine + gearbox + transmissions.
The engine + gearbox is refitted to the chassis with new driveshafts.
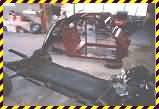
Rustproofing bottom of main body.
The bottom of the main body is fully rustproofed, including all invisible empty spaces.
The bottom of the main body is fully rustproofed, including all invisible empty spaces.
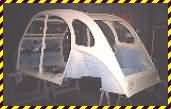
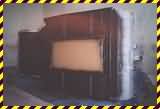
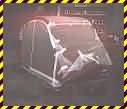 Painting main body.
Main body is painted with its main color : burgundy. Then it is packed to allow painting only the sides with the second color : black
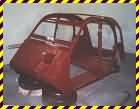
Body ready to go back on chassis.
Finished ! (almost...) : renewed chassis, new engine + gearbox and a repainted Charleston main body.
Finished ! (almost...) : renewed chassis, new engine + gearbox and a repainted Charleston main body.
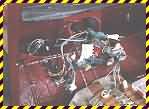 Nerves back in body.
The full wiring is refitted to the dashboard. Even a simple dash like the 2CV one requires a spaghetti mess of colorfull wires.
Around the dash.
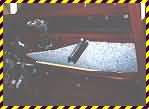
The original 2CV foam for sound and heat protection around the dash is some horrible mix of plastic and foam which melts, peals AND crackles with time. It is replaced with modern, strong, foam, which will be clothed with black Boeing vinyl.
The original 2CV foam for sound and heat protection around the dash is some horrible mix of plastic and foam which melts, peals AND crackles with time. It is replaced with modern, strong, foam, which will be clothed with black Boeing vinyl.

 |
 |
|
| Episode I | Episode III | Episode IV |
